
How to Add Virtual Try-On to Your Shopify Store (No Code, 2026)
A step-by-step guide to adding AI virtual try-on visuals to your Shopify store, no code required. Cut your shooting costs and reduce returns.
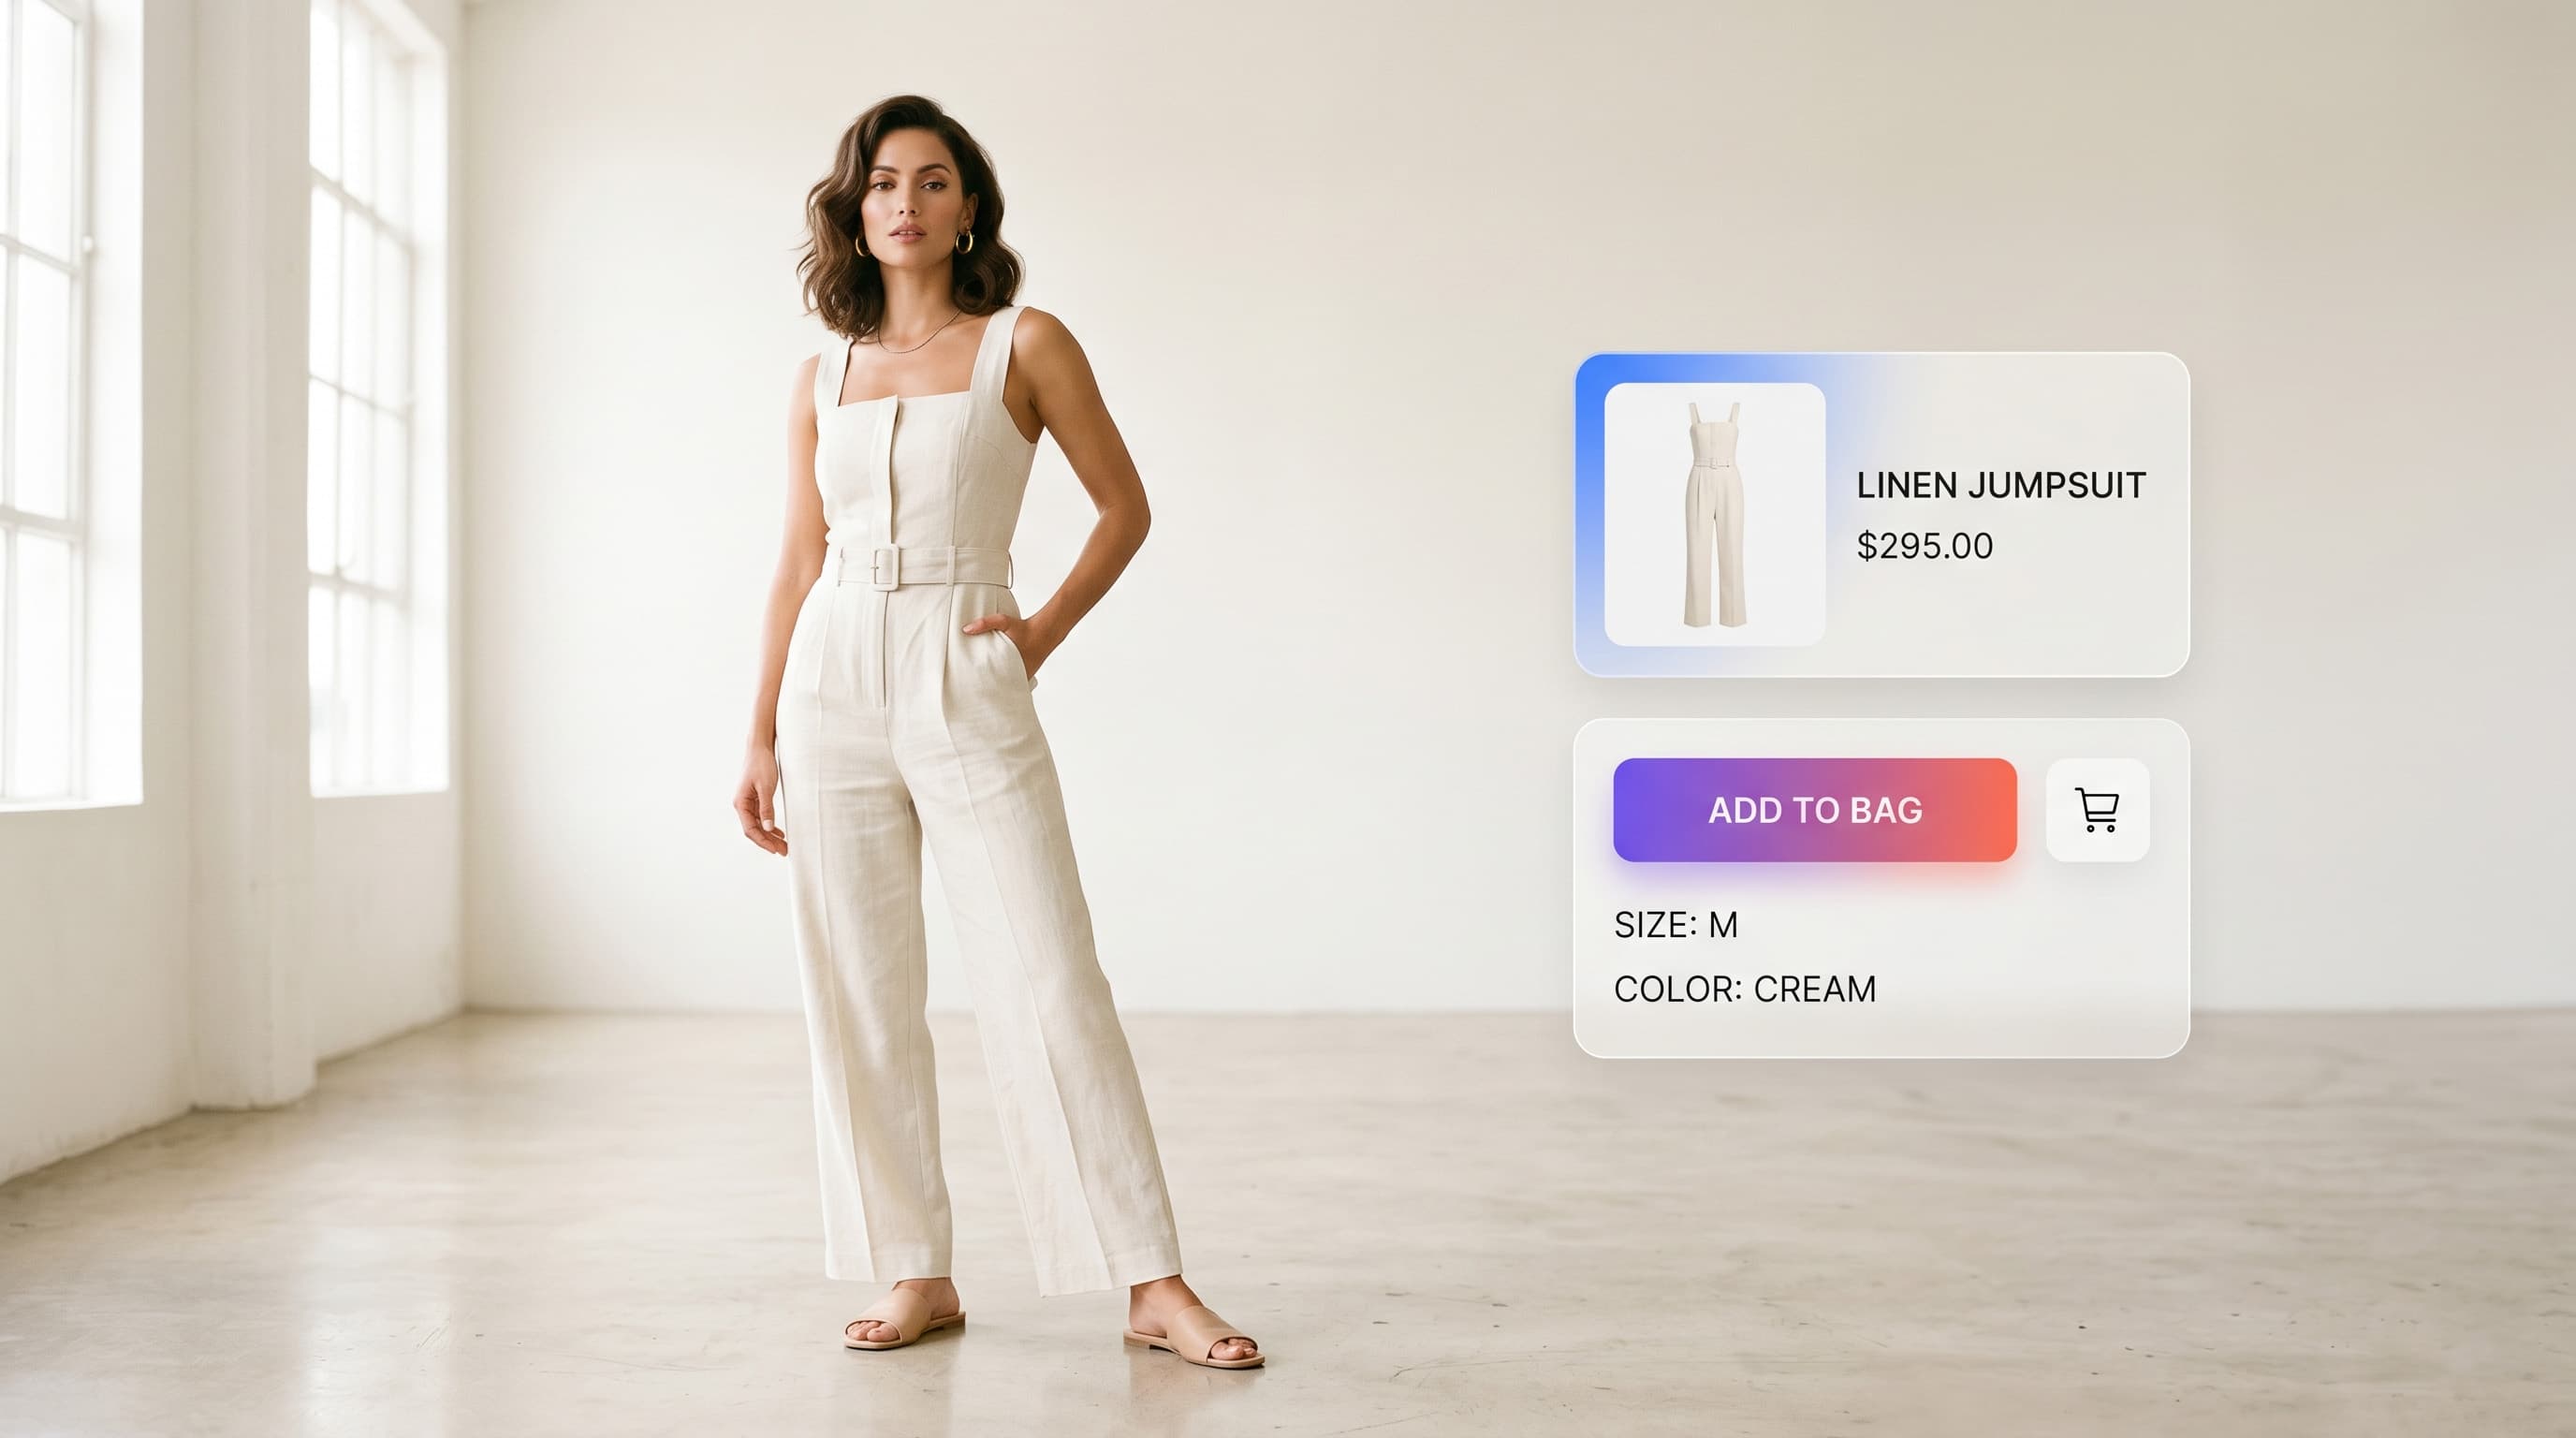
Big brands like Zara and ASOS show on-model visuals on every product page — but it's often assumed this is reserved for those with a studio and a big budget. It isn't. With AI virtual try-on, any Shopify store can publish studio-quality visuals, with no code, no photoshoot, and for a fraction of the cost.
This guide shows, step by step, how to add these visuals to your Shopify store.
Why add on-model visuals to your Shopify store
A flat garment photo converts worse than a garment shown on a model. The on-model visual helps shoppers picture themselves wearing it, which improves conversion and reduces returns. Concretely, virtual try-on lets you:
- Show every product on a model, even without a shoot.
- Decline multiple poses, models and backgrounds per product.
- Add runway or 360° videos straight to the page.
- All for up to 90% less than a studio.
Step by step: from product photo to Shopify page
1. Upload your garment photo
Start from a simple photo: flat lay, on a hanger, or ghost mannequin. No professional gear needed.
2. Generate the on-model visual
In ClothesLook, pick an AI model (up to 195 nationalities), a pose and a background. The AI dresses the model in seconds, with the right fabric drape.
3. (Optional) Add a video
Turn the visual into a runway video or a 360° view — ideal to grab attention on the product page and on social.
4. Export in high resolution
Download your visuals as JPG/PNG (up to 4K) and videos as MP4. Background removal and 4K upscaling ensure a crisp result for Shopify.
5. Upload to Shopify
In your Shopify admin: Products → [your product] → Media → Add media. Drag your images and videos in like regular photos. No code, no mandatory app.
Which visual for which product?
| Product type | Recommended visual | Why |
|---|---|---|
| Garment (top, dress…) | On-model + 360° | Shows drape and fit |
| Accessory | Close-up + worn in context | Conveys scale and usage |
| Collection / drop | Same model across the series | Visual consistency (Identity Lock) |
| Social content | Runway / 360° video | Native Reels / TikTok format |
Best practices for Shopify
- First image = on-model visual: it's the thumbnail shown in collections.
- Consistency: use the same model style and background across a collection (Identity Lock).
- Video as a complement: add a 360° video after the images to increase time on page.
- Alt text: fill in each image's
alt(accessibility + SEO).
How much it costs (vs a shoot)
| Item | Traditional shoot | AI virtual try-on |
|---|---|---|
| Cost per visual | Tens to hundreds of $ | A few cents to a few $ |
| Turnaround | Several days | A few seconds |
| Logistics | Studio, model, retouching | 100% online |
Conclusion
Adding virtual try-on to Shopify requires neither code nor a studio: you generate the visual, export it, upload it. The result: more convincing product pages, fewer returns, and a slashed visual budget.
Ready to try it on your products? Compare ClothesLook plans or discover AI virtual try-on. Go further: Best AI Virtual Try-On Tools.
Frequently asked questions
No. AI-generated visuals (images and videos) export in high resolution and upload to Shopify exactly like regular product photos, via the product editor. No code is required.